How to Clean Your Headphones
We asked experts for the best cleaning methods to make your headphones and earbuds sound better and last longer
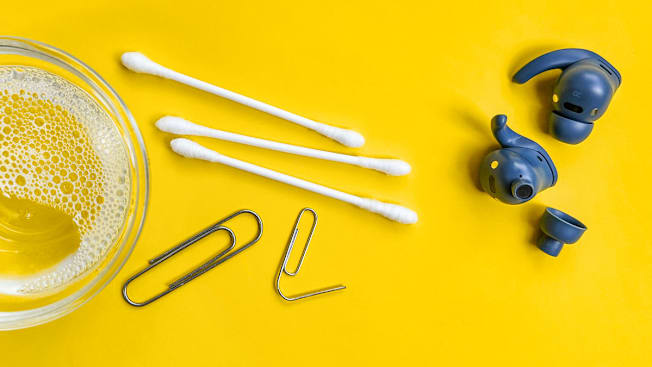
Like anything else that you wear on your body, headphones can get dirty. They seem to be magnets for everything from earwax to lint to dust—and the grime is more than just gross. It can affect the function of your headphones, potentially leading to their early demise. Research suggests that prolonged use of earbuds can also lead to increased bacterial growth within the ear, as well as irritation and infections. Cleaning your earbuds may help mitigate the risks.
Cleaning Tools You'll Need
You’ll want a paper clip and cotton swabs for cleaning earphones (models that fit in your ears). The same tools will help get at the nooks and crannies of larger home/studio style headphones that fit on or over your ears. A soft, clean toothbrush will also come in handy.
Chen recommends using unscented baby wipes, but make sure they’re alcohol-free. Alternatively, you can use a clean towel (preferably a soft one like a microfiber cloth to avoid leaving lint and scratches on more sensitive materials) with warm water and a drop or two of soap or mild detergent. In some cases you may want to use alcohol or hydrogen peroxide, but you should avoid these solutions on foam and other delicate material—read on for specific instructions.
You’ll also need a second towel for drying things off when you’re done. Use a cloth that won’t leave behind any stray fibers or dust.
Tips for Cleaning Any Type of Headphones
Except for a handful of models marketed specifically for swimming, headphones should never be submerged in water. (Electronics and water don’t mix well.) Even "water-resistant" models—which are designed to stand up to sweat or rain, not a dunking—should never get more than slightly damp.
Don’t apply any liquid directly to the headphones, and when you do wipe them down, be sure to keep any moisture on the surface. Don’t let any interior parts get damp.
Follow the advice below to get a deeper cleaning. These tips can apply to over-ear headphones, on-ear models, and earbuds.
Ensure you’re using the proper liquid solution for the job. According to Chen, you usually don’t need anything stronger than soap and water. "You can use a little alcohol, but on certain things you shouldn’t because the material itself will dissolve," he says. Avoid using it on any part made of foam or wood.
Alcohol is fine for plastic, rubber, or silicone, but you’ll only want to use it occasionally, and dry it off carefully. Letting it air-dry can lead to damage. Chen recommends a dedicated leather cleaning solution for any pair made of genuine leather. Also, synthetic or protein-based leathers are used in many on-ear and over-ear headphones and are especially prone to damage, so anything more than a gentle wipe with a water-dampened cloth may be problematic.
Remove dried earwax and other debris. Bose, a prominent audio brand, recommends hydrogen peroxide to remove stubborn earwax. Look for a solution of no more than 3 percent. Apply it with a cotton swab, and merely dampen the surface, taking care not to allow excess liquid to come in contact with the drivers or any electronics. Wipe the solution off quickly and carefully when you’re done. Even at that low concentration, hydrogen peroxide can sometimes cause bleaching and discoloration.
Thoroughly dry your headphones with a towel. No matter what you use on the headphones, you’ll want to remove any excess moisture after cleaning them. Let them sit for a period of time to ensure they are completely dry before using them again.
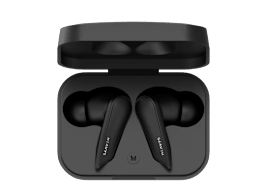
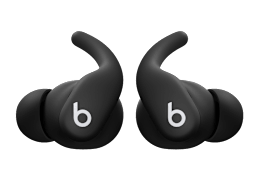
How to Clean Earbuds and In-Ear Earphones
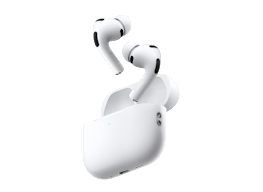
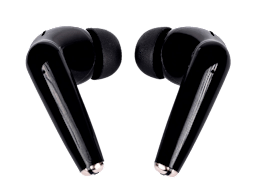
Clean the tips of your earbuds. For earbuds with removable tips or ear supports, manufacturers recommend taking them off and cleaning them separately. The first step is to clear out any earwax that’s lodged inside them. A paper clip should do the trick—just be careful not to scratch or puncture the earpieces.
Once you’ve removed excess wax, wipe down the ear tips and ear supports with baby wipes or soap and water. You can also turn some ear tips inside out for a cleaning without damaging them, and cotton swabs can help with the detail work.
Again, alcohol is an option for rubber and silicone tips, but it will destroy foam. No matter what, use alcohol sparingly and wipe it off right away.
Clean the outer casing of your earbuds. You’ll want to pay close attention to the protruding cylinder that foam tips are connected to and sound travels through. There’s usually a mesh screen made of cloth, plastic, or metal to protect the earbuds’ drivers. Those screens can be a hot spot for wax.
Chen says he often gets questions about earphones that are quieter on one side; a simple clog is usually the culprit. He recommends taking care of this problem promptly because earwax can become impacted and hard to remove.
Use a clean toothbrush to gently brush away anything that’s stuck. Be careful not to push debris deeper into the screen. A dab of hydrogen peroxide will help to get things moving, if necessary, but apply it carefully and don’t let it drip inside. You may also try lightly coating the toothbrush’s bristles with hydrogen peroxide to help soften the wax.
Some in-ear style earphones don’t have a screen; instead, there’s just an opening at the front of the cylinder that extends into your ear. You can use a paper clip to remove any visible contaminants. Proceed delicately, and avoid making contact with the inner workings of the earphones, which can be easily damaged.
How to Clean Over-Ear and On-Ear Headphones
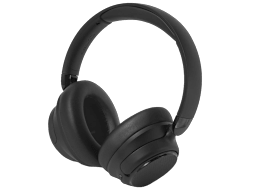
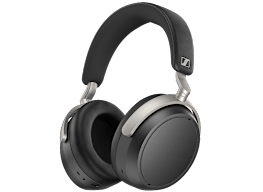
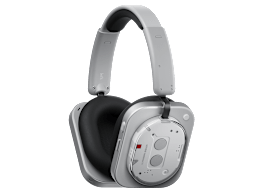
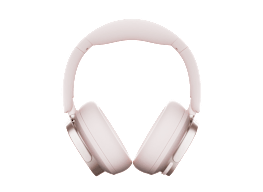
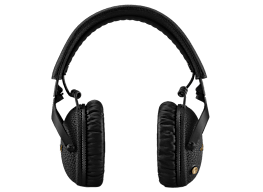
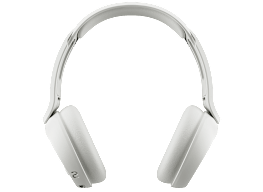
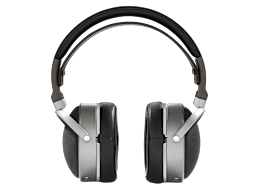
Home/studio style headphones, also called over-ear or on-ear headphones, tend not to get as dirty as in-ear models, but they still benefit from regular cleaning.
Clean the casing with soap and water. You can also use baby wipes. Spend a little extra time wiping off oils from areas that come in contact with your hair or skin. If you have a wired model, give the cable the same treatment but stick with a dry cloth for the jack.
Next, clean your earpads. Wipe them down gently with a dry towel or a soft-bristled brush, like a toothbrush, to remove superficial dust and dirt. Then clean with baby wipes or a soft towel dampened with soap and water. Use cotton swabs to get at hard-to-reach areas in any folds or stitching. When you’re done, dry the earpads by hand. Some headphones that fit on or over the ears have removable earpads, which you’ll want to take off and clean separately, if possible. You can also find inexpensive replacements online for some models.
Leather material requires a bit more care. Bang & Olufsen, one of the few companies that sells headphones with earpads made of real leather, recommends leather cleaner applied with a soft cloth.
Clean the driver screen. Just like earphones, most over-ear and on-ear headphones have screens covering the drivers, and many also have extra padding covering the screens. If the cloth padding inside the earcups is removable, clean it gently with a cloth dampened in a solution of water and mild soap. If the screens are dirty, turn them face-down and use a soft brush to gently clean them. Be careful not to press the screen or the brush into the drivers.
If the screens are removable, clean them separately. But don’t attempt to clean the drivers directly if there’s any visible dirt, says Antonette Asedillo, a senior test project leader at Consumer Reports who is responsible for testing headphones. "That’s a delicate job you should leave to a professional, assuming your headphones are worth spending the money on," Asedillo says.

