Your membership has expired

The payment for your account couldn't be processed or you've canceled your account with us.

Re-activate

Save products you love, products you own and much more!

Save products icon

Other Membership Benefits:

Savings icon Exclusive Deals for Members Best time to buy icon Best Time to Buy Products Recall tracker icon Recall & Safety Alerts TV screen optimizer icon TV Screen Optimizer and more

    How to Install a Window Air Conditioner

    A bad installation can damage your AC or, worse, cause the unit to fall out of your window

    When you shop through retailer links on our site, we may earn affiliate commissions. 100% of the fees we collect are used to support our nonprofit mission. Learn more.
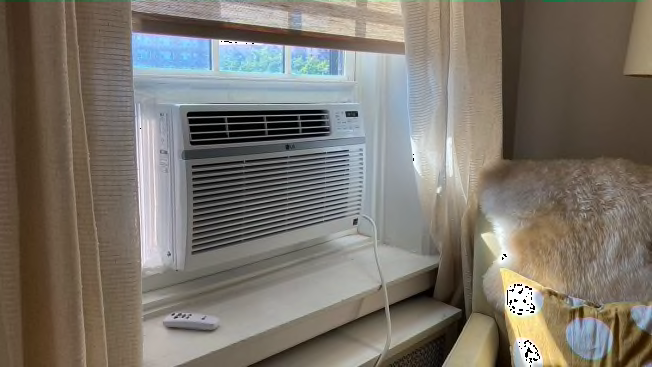
    AC in window Photo: Lacey Browne/Consumer Reports

    When it’s hot enough to need an air conditioner, installing one can be a chore, tempting you to cut corners. Please don’t. A poorly installed AC is at best noisy and inefficient and at its worst it can be downright dangerous.

    To help you get the job done right, we asked CR’s resident air conditioner expert, Chris Regan, to walk us through the proper steps. He’s been installing ACs for years in CR’s air conditioner test chamber.

    If you’re installing a new AC, start at Step 1. If you’re re-installing a unit from seasons past, skip ahead to Step 3.

    In this article Arrow link

    Steps for Installing a Window AC

    Step 1: Read the Instructions
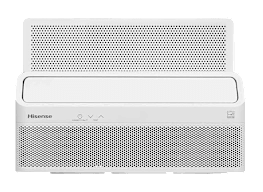
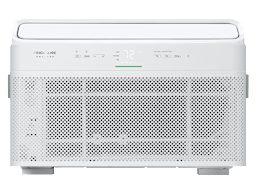
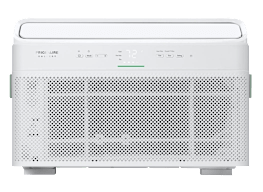
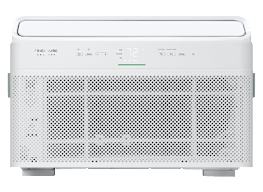
    While Chris Regan’s guidelines provide a great primer, your air conditioner likely has specific installation requirements covered in the documentation. And there’s no shame in consulting the paperwork; even our experts do it. “Do as we do and always follow the manufacturer’s installation instructions, using the hardware that comes with the AC,” Regan says. This is especially important if you’ve bought one of the innovative U-shaped models, where the installation is less conventional.

    Step 2: Make Sure It Works
    When you unbox your AC, be sure to remove all the packaging: foam blocks, tape, and plastic fasteners. You don’t want to get the unit in the window only to realize you’ve still got a piece of tape over the vents. Be careful while unboxing the thing, too. “The backside of the unit has very thin metal cooling fins that can easily slice fingers,” Regan says. Before hoisting the AC into the window, place it on the floor, plug it in, and turn it on to confirm that it works. You don’t want to install the unit only to find out that it’s deader than disco.

    Step 3: Attach the Side Panels
    Unplug the AC and attach the two accordionlike side extensions. (These expand so you can close up the spaces on each side of the unit once it’s in the window and keep the cool air inside and the hot air outside.) Most models also come with a metal rail that screws to the top of the unit. This acts as a track for the side panels and the window sash and helps hold the AC in the window.

    More on air conditioners

    Step 4: Position the AC in the Window
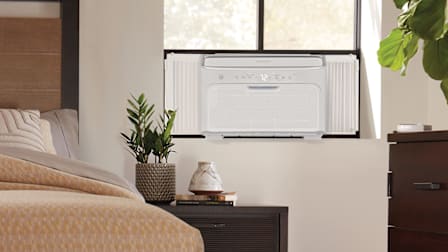
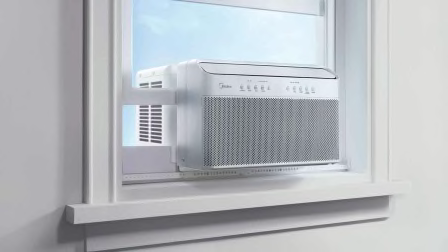
    Raise the window sash and the screen. Center the AC on the windowsill both front to back and left to right. Most of the weight will be hanging out of the window, so be sure to keep a firm grip on the unit. Consider enlisting an extra set of hands for help with this task, especially if it’s a larger unit. Pull down the window sash so that it rests on top of the AC directly behind the metal rail, moving the unit if necessary. Once it’s in position, hold onto the window sash to keep the unit from falling out.

    You might also consider getting a support bracket for your AC, especially if you live on the upper floors of an apartment building. These brackets attach to the outside wall directly under the window for your AC to rest on, and cost around $30 to $100. (For more tips, read our AC guide for apartment dwellers.)

    Step 5: Make Sure the Unit Can Drain Properly
    When the AC is on, it creates condensation and that water has to go somewhere. Some newer models have a slanted drain pan built into the unit and with those you have to make sure the AC is perfectly level. Others come with a windowsill support for the outside of the AC to make sure it sits at the right angle for drainage. (To see which models come with a windowsill support, see our air conditioner ratings.)

    If your AC has neither feature, it needs to slope just a few degrees so that the water drains away from your home rather than flowing back into it. You can use a level to check the pitch, but if you don’t have one, put a ball on top of your air conditioner and make sure that it rolls gently away from the window.

    Step 6: Lock It In
    Your AC comes with a sash lock, an L-shaped bracket that you attach to the top of the lower window sash and the side of the upper sash to prevent the window from being opened. Use a cordless drill (or a screwdriver) to fasten it in place. If you have vinyl windows and don’t want to put a screw in them, Regan suggests cutting a long block of wood to fit snugly into the space between the top of the opened window and the top of the window frame. A wooden curtain rod or thick dowel will also do the trick.

    Step 7: Close Up the Gaps
    Pull out the extension panel on each side of the AC to close up the spaces to the left and right of the unit. Screw each one to the window sash to keep it in place. (There should be screw holes in the panels to show you exactly where to fasten them.)

    To seal out hot air and insects, stuff the thick foam weather stripping that came with your unit into the gap at the top of the window sash holding your AC in place, between the two panes of glass. If your unit comes with insulating foam panels to place over the accordion panels, minimizing air leaks, cut those panels to size. Don’t skimp on this step, because a well-sealed unit is quieter, more efficient, and better at cooling your home.

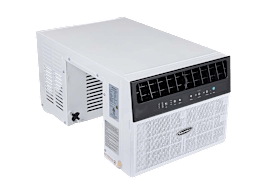
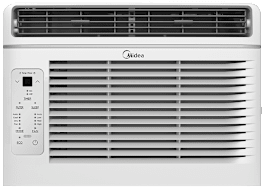
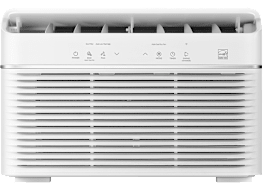
    Best Window ACs From CR's Tests

    Which ACs are great at keeping you cool all summer long? Check out the top performers from our extensive lab tests, organized by the room size you want to cool. In general, you’ll want a model with good scores for comfort and noise. You might also consider how well each unit performs under brownout conditions when extreme heat causes power fluctuations.

    Become a member to read the full article and get access to digital ratings.

    We investigate, research, and test so you can choose with confidence.


    Allen St. John

    Allen St. John has been a senior product editor at CR since 2016, focusing on digital privacy, audio devices, printers, and home products. He was a senior editor at Condé Nast and a contributing editor at publications including Road & Track and The Village Voice. A New York Times bestselling author, he's also written for The New York Times Magazine, The Wall Street Journal, and Rolling Stone. He lives in Montclair, N.J., with his wife, their two children, and their dog, Rugby.