Appliances
Get the latest in-depth appliance reviews, ratings, and buying advice for all of your favorite kitchen appliances, so you can make the right choice.


Inside Our Test Labs
CR’s engineers test and rate thousands of products so that you can make great choices, based on data.


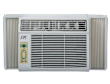
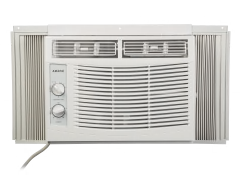
Heating, cooling & air
Get the latest in-depth reviews, ratings, and buying advice for heating, cooling & air products.

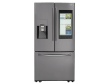
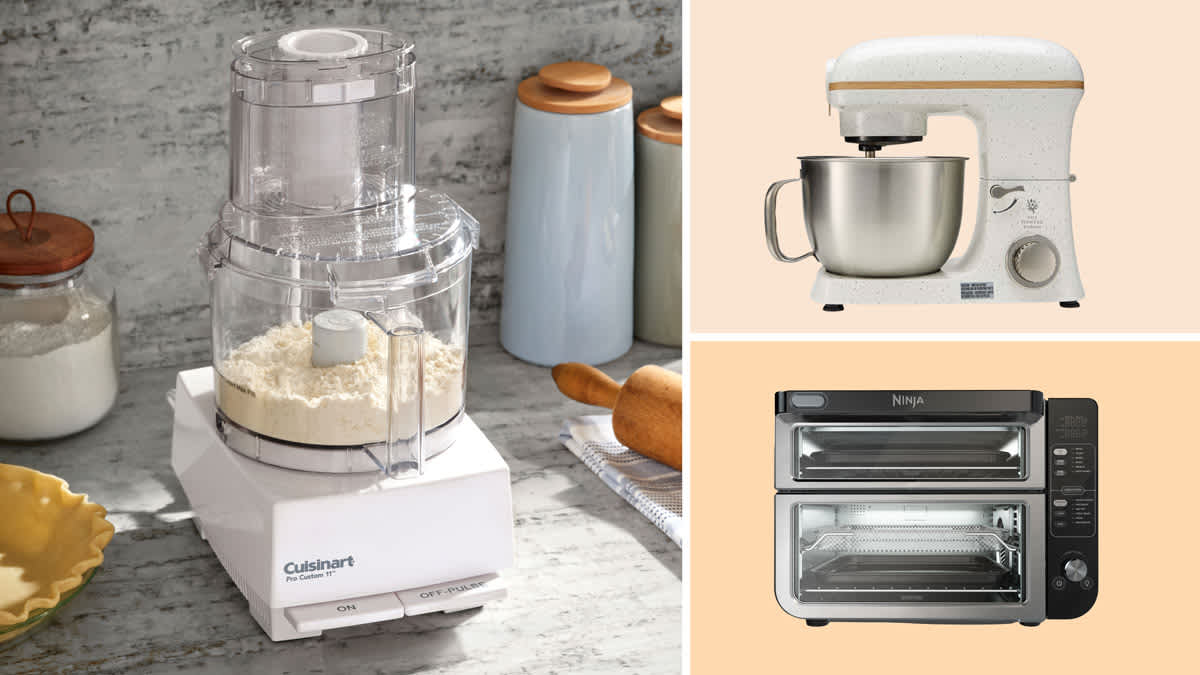
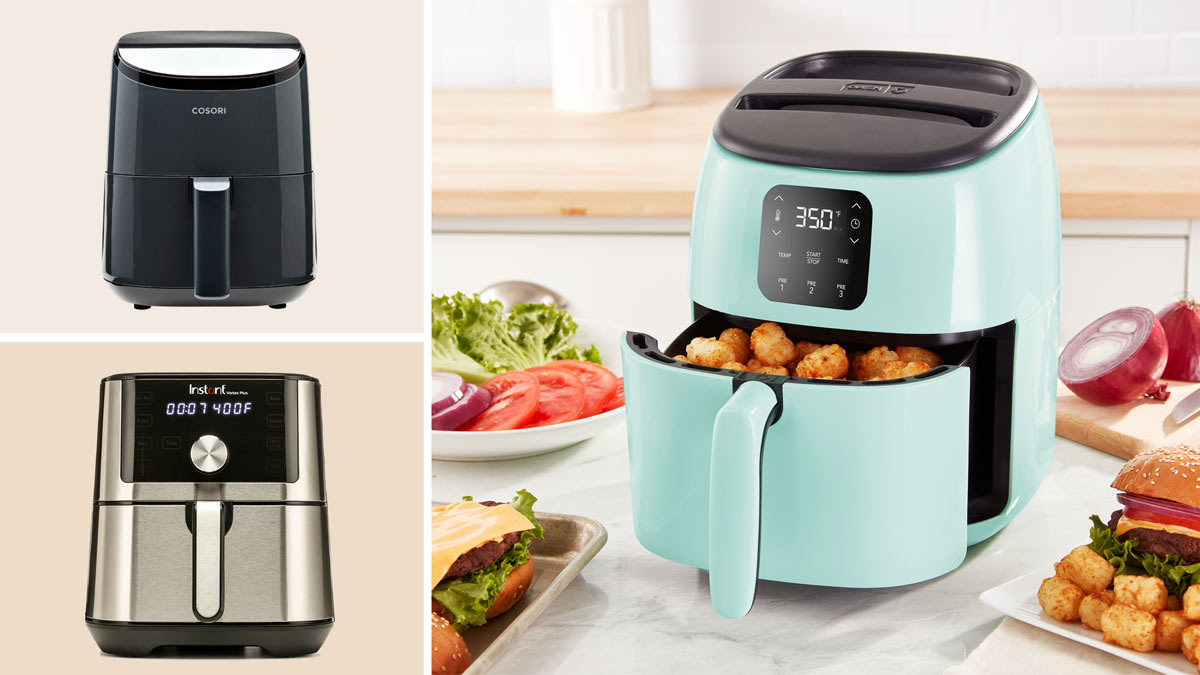
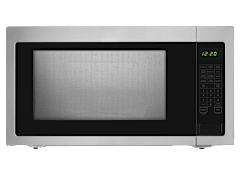
Kitchen appliances
Get the latest in-depth reviews, ratings, and buying advice for kitchen appliances.

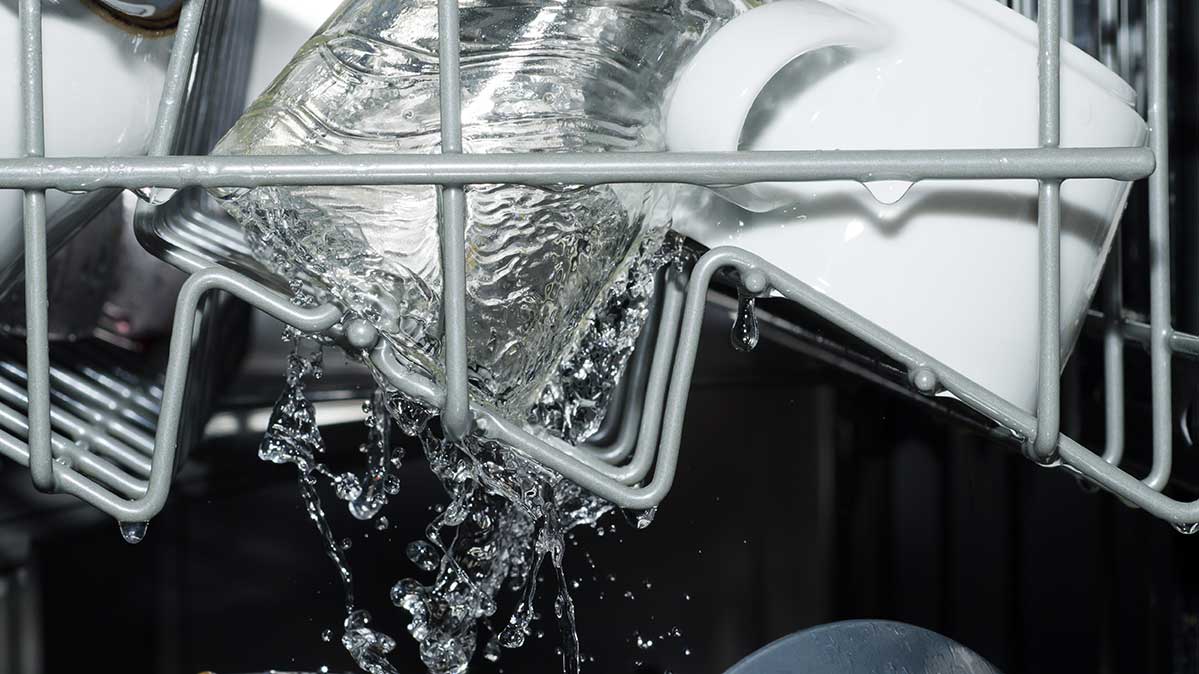
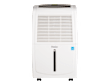
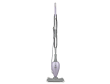
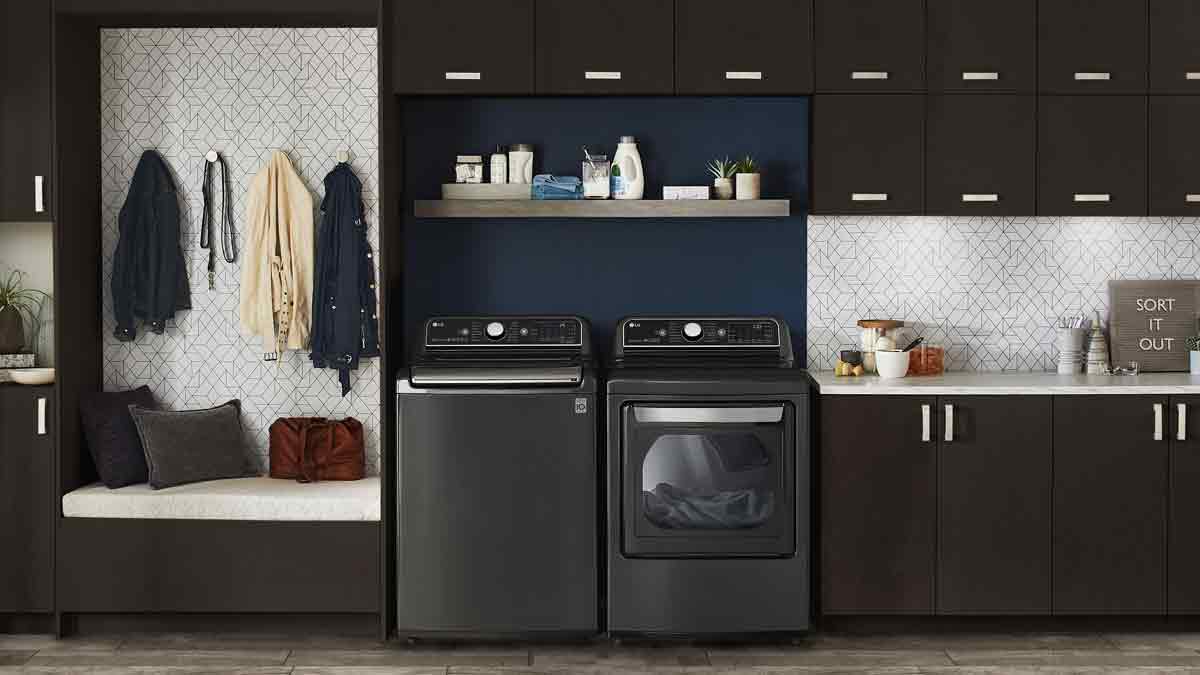
Laundry & cleaning
Get the latest in-depth reviews, ratings, and buying advice for laundry & cleaning products.


An independent, nonprofit member organization that works side by side with consumers for truth, transparency, and fairness in the marketplace.

Mission-Driven Nonprofit
Promoting truth, transparency, and fairness

Consumer-Centric
85+ years of advancing consumer interests

Independent
No advertising, sponsorships, or free samples for testing
Learn about free membership benefits & more