Sign In

One thing professional photographers are always on the lookout for is a transformative moment, such as an unexpected gesture from a subject or a change in lighting that alters the mood of a scene. Snow can do the trick. It can transform your surroundings, elevating the ordinary to the extraordinary and creating fanciful scenes and abstract shapes. However, these conditions do present challenges, such as difficulty in finding the proper exposure and dealing with shifting color balances. Here are six tactics for addressing those problems and capturing inspired wintertime images.
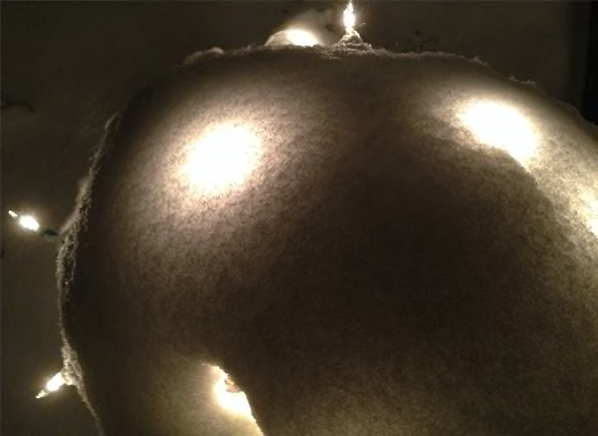
After a snowfall, the landscape is generally lighter or brighter, which means there are fewer shadows. The sky is also often cloudy or hazy, further limiting dark tones. Both of these create a composition challenge, since you generally want to have a mix of highlights, mid-tones and shadow areas in your pictures. So, get creative. Try waiting for the sky to clear in order to get some direct natural sunlight. Or, try shooting later in the day or even at night: I shot Christmas lights covered by snow to produce the abstract, almost surreal-looking image shown above.
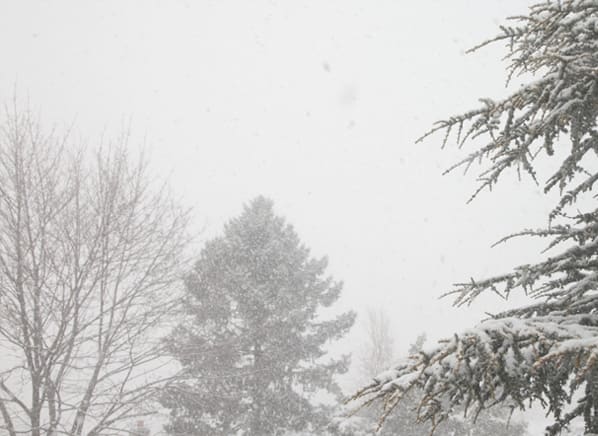
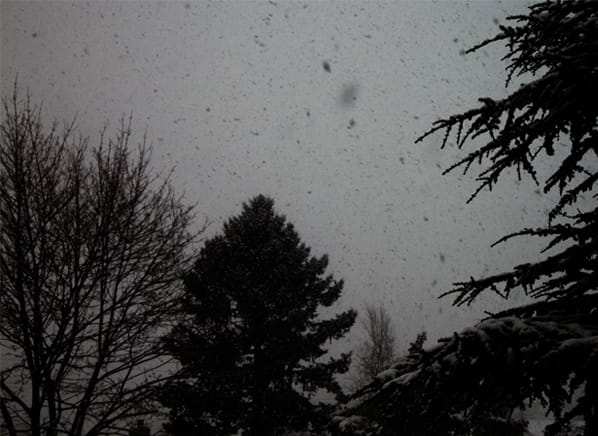
One feature found on many cameras, particularly advanced models, is an autobracketing feature. When using this mode, you'll be able to quickly fire off three consecutive shots—underexposed, overexposed, and properly exposed. As you can see from my photos below, this can be important when shooting snow settings, since various exposures will reveal or hide different details. In the lighter image (top) you can make out the details in the trees, but the sky is a uniform haze. The darker image on the bottom reveals the the snow flakes, and turns the trees into dramatic silhouettes.
If you yearn for precise control when shooting in snowy settings, take some time to understand the white-balance setting on your camera (if your model has this feature). When it's in full auto mode, your camera calculates the best way to avoid color casts. In other words, the metering system (as well as other software inside your camera) attempts to ensure that the whites in your photos don't have a blue tint or other color cast.
However, in snowy settings, this is a challenge. Since there's so much white in your scene, your camera's white balance can be thrown off and produce snow that looks blue or gray. So, check out your camera's white balance options, which might include preprogrammed settings, such as fluorescent, cloudy, sunny, and others. Such a setting might do the trick. But for the most control, you'll need to manually set the white-balance on your camera. Refer to your camera's manual for more on how to do this, since it generally involves several steps.
Here's one more trick if you're a control freak: If you have an advanced camera, like a mirrorless or SLR, you can also control white balance by shooting the scene using a RAW file format (as opposed to JPEG). What's nice about this type of image file is that if your whites look bluish or have another color cast to them when you shot the photo, you can easily adjust it later in your image-editing software.
Find the best model for your needs and budget: Check our camera buying guide and Ratings.
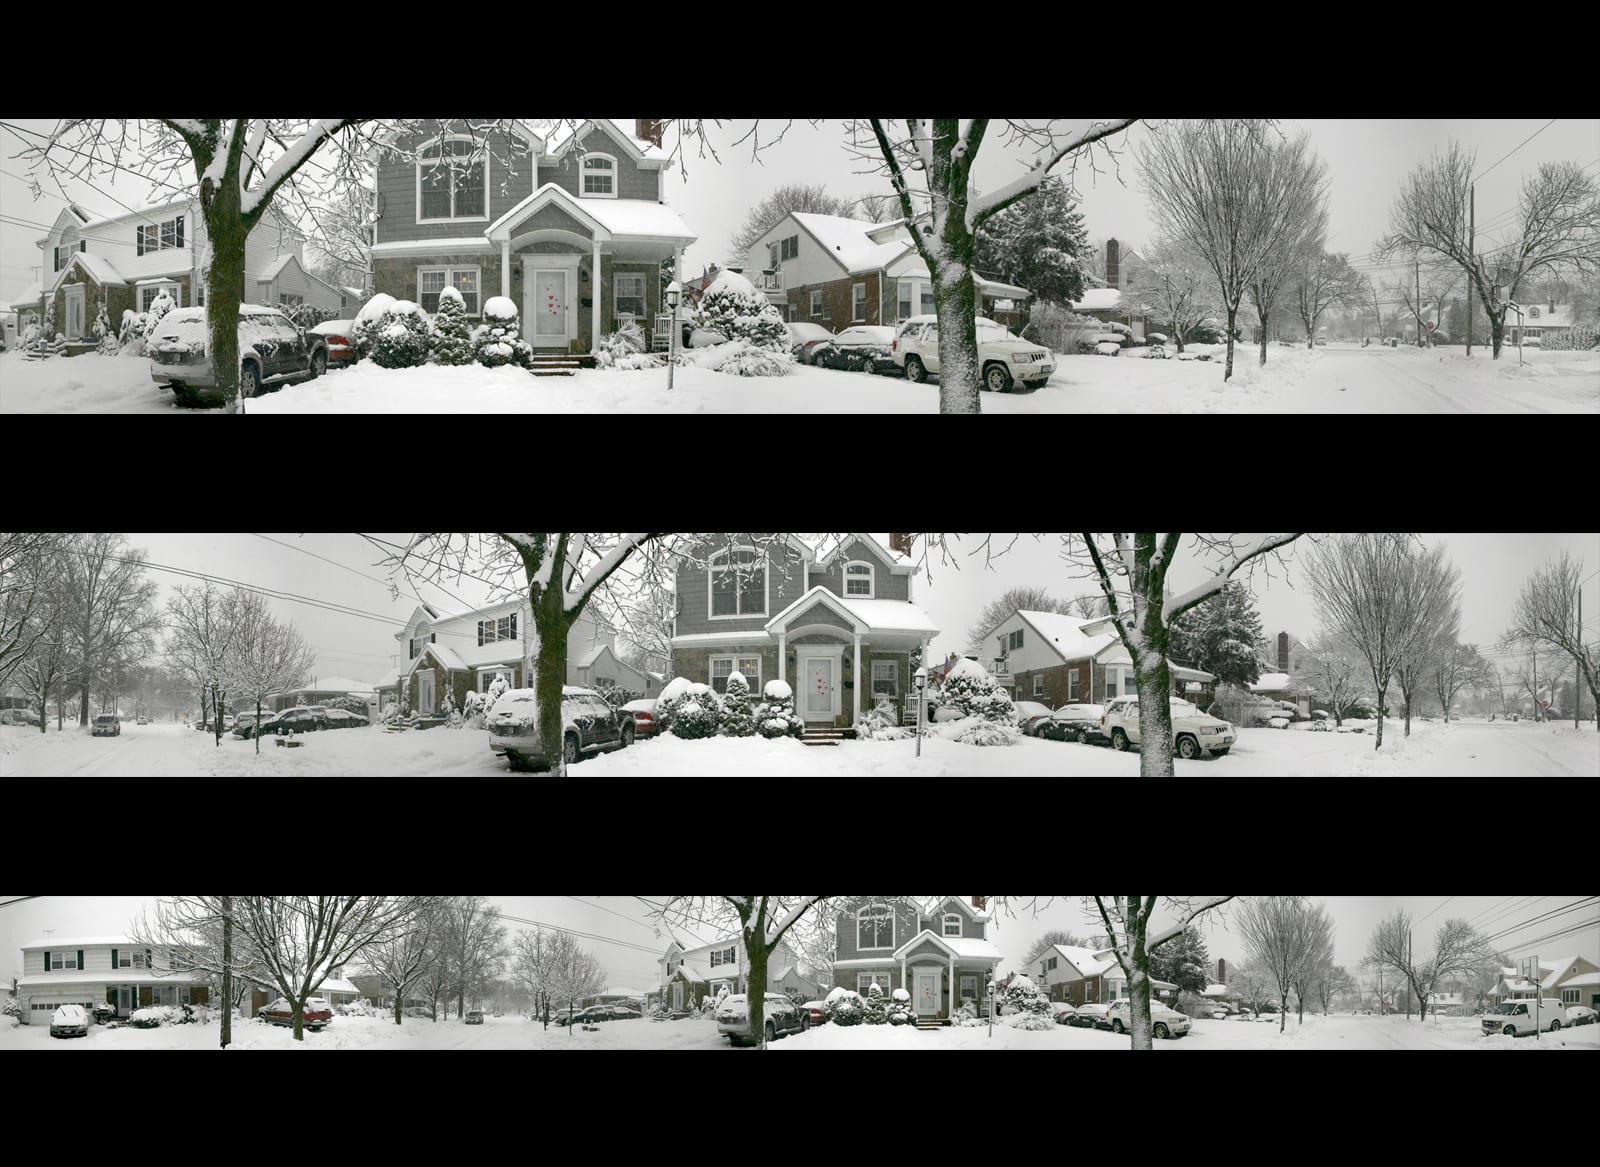
When shooting a wintry snow scene, try shooting some panoramas with your camera or phone to add an immersive quality to your images. That will really highlight the way your landscape has been changed by the snow. Most new cameras and nearly all smart phones will stitch the photos together for you in your camera, but if you have an older camera, you can still capture individual frames and then stitch them together in your image editing software. This is just one of your framing options. Also be sure to shoot some vertical shots in addition to your horizontal images.
Before you shoot, consider what you want to include in your photo and what you want to leave out. This is good advice for any photography situation. Of course, with today's fast-shooting cameras, it's easy to fire off dozens of photos in an instant. Instead, take some time and decide what's important to the shot and what's extraneous before you push the shutter button. Next, figure out how you want to frame the shot: Don't just place your subject in the center. Frame your shot so that your subjects are off center, or even close to the edge of your image. Composition is an art form, and there are no hard-and-fast rules. But trial and error is the key to getting it right.
In addition to paying attention to what frozen landscapes or frosty subjects you want to photograph, it's important to try and prevent your camera from getting damaged by ice, snow, or slush. Keep the camera protected as you explore, until it's time to start shooting. Additionally, if you plan on doing a lot of shooting in very wet or slushy conditions, which could damage most cameras, consider buying a waterproof model, which will include a rugged exterior.
—Terry Sullivan
 Build & Buy Car Buying Service
Save thousands off MSRP with upfront dealer pricing information and a transparent car buying experience.
 Get Ratings on the go and compare
while you shop


