How to Prep Your Kitchen Cabinets for Painting
A little work at the start of a DIY project can go a long way in achieving professional results
When you shop through retailer links on our site, we may earn affiliate commissions. 100% of the fees we collect are used to support our nonprofit mission. Learn more.
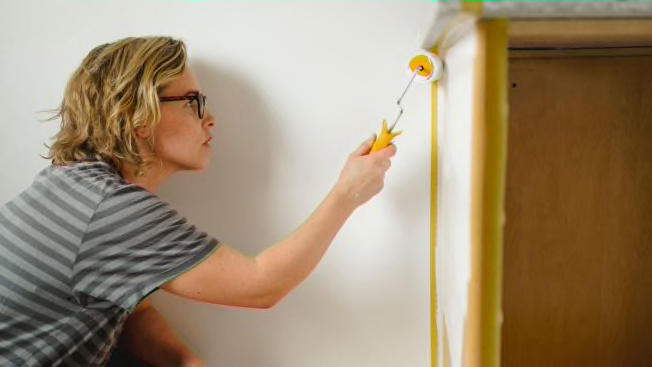
A surefire way to increase your home’s appeal is to give your kitchen a facelift. “The kitchen is a great place to start any renovation project. It is the heart of the home and a valuable communal space for those wanting to buy a new home,” says real estate expert Chris Heller, president of Austin, Texas-based real estate technology company OJO, and the former CEO of Keller Williams Realty.
Not ready to do a full reno? You can give your kitchen a significant refresh by simply sprucing up your cabinets with a fresh coat of paint.
Before you start, do your research. Find out what material your cabinets are made of and let that guide your paint and finish choices. “Wood or wood veneer cabinets are the easiest to paint,” says Monica Mothershead, senior merchant of interior paint for Home Depot. “But you can also paint metal or laminate cabinets.” Your paint selection should be compatible with your cabinet material for a smooth and polished look that stands the test of time.
Label Cabinet Components
Before removing the doors and drawer fronts from your cabinet frame, sketch out a map of your kitchen and record where they belong. Use painter’s tape to label each door and drawer according to their placement. This helps simplify the process when you’re reinstalling the doors later, says Mothershead. It’s also useful if you’re reusing the hinges and handles.
Empty Your Cabinets, Then Tape
Take everything out of the cabinets and move the items to another room. Once cabinet contents are out of the way, tape off the interior of the boxes to prevent paint overspill. This will give you a more professional finished product.
Remove Surface Grime
Thoroughly clean your cabinets with a degreasing solution compatible with your cabinet material. This will help the paint adhere correctly and ensure a more durable finish.
Sand the Surface
Once dried, sand cabinets to a smooth finish. “Sanding with a very fine sandpaper, and then carefully removing any dust, roughs up the surface enough to make it easier for the paint to adhere to it,” says Bill Carroll, PhD, an adjunct professor at Indiana University with expertise in industrial chemistry. You can also use a sanding sponge, a power sander, or an oscillating multi-tool equipped with a sanding attachment.
Make Sure You Have the Right Tools and Materials
Read paint labels to determine the best base coat and brush to use. Some paints may require a specially formulated primer or a specific type of brush. If you’re painting cabinets in a high-moisture environment or climate, Iman says to consider a base paint with mildewcides for added protection against mold growth.
Clean the Air
Oil-based paints are commonly used on cabinets due to their sturdier finish. However, these formulas often have high amounts of volatile organic compounds (VOCs) and a sharp odor. Iman and Mothershead recommend acrylic-based paints or water-based alkyd paints to reduce exposure to VOCs. Regardless of the paint you choose, have proper ventilation during painting and follow safety precautions, such as wearing a mask and gloves.
The Environmental Protection Agency (EPA) recommends keeping windows wide open, as weather permits, for two to three days after painting. This will help you avoid unwanted exposure to paint vapors. It will also help you return the air inside your home to an acceptable quality. If you have an air purifier, this is a good time to use it.

