How to Program Your Thermostat
Save on your energy bills by customizing your cooling schedule
When you shop through retailer links on our site, we may earn affiliate commissions. 100% of the fees we collect are used to support our nonprofit mission. Learn more.
According to Energy Star, the average U.S. household spends over $900 per year on cooling and heating. A properly programmed thermostat can help you lower those energy costs and make setting the right temperature more convenient, which both contribute to why a smart thermostat is worth it.
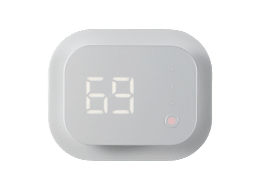
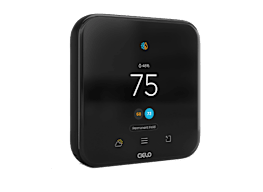
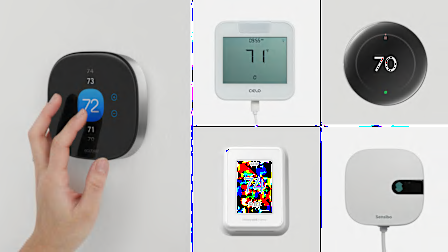
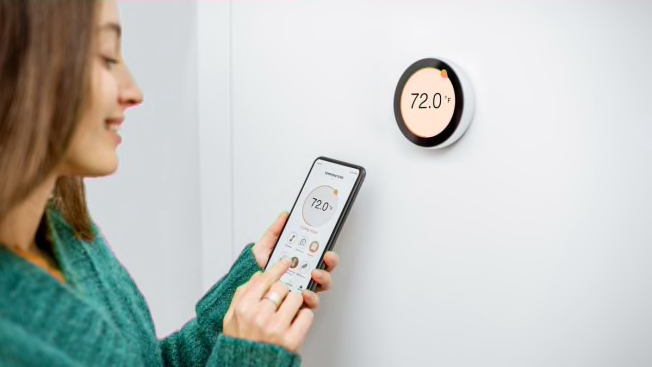
Some smart thermostats, such as the Google Nest Learning Thermostat, can “learn” your habits and create a schedule after you’ve entered a few days’ worth of temperature settings manually. Others include a built-in occupancy sensor or geofencing technology, which signals to the thermostat when you’re home, automatically raising or lowering the temperature based on your movements. But most smart thermostats still require you to enter a schedule and corresponding temperatures. You just do it on a smartphone app rather than on the thermostat itself.
1. Know Your Schedule
First, check to see what cadence your thermostat can accommodate: daily, weekly, or weekday/weekend scheduling.
A daily (or seven-day) schedule lets you program a different schedule for each day of the week, and a weekly one uses an identical schedule seven days a week.
A weekday/weekend schedule (either 5/2 day or 5/1/1 day) lets you set one schedule for the weekdays and another for weekends; 5/1/1 thermostats let you set a different schedule for Saturday and for Sunday. Most programmable thermostats use either daily or weekday/weekend schedules, and almost all smart thermostats offer daily schedules.
Once you know what kind of schedule your thermostat uses, jot down the time your family generally wakes up, leaves home, returns home, and goes to bed each day of the week so that you’ll have that handy when you’re ready to program your thermostat.
2. Choose Temperature Settings
Keep that pad handy because you’ll need to write down your desired temperatures for different times of the day. On your thermostat, these temperature set points are typically designated as “home,” “away,” and “sleep.”
To determine your temperatures—and maximize your savings—follow these guidelines from the Department of Energy (which are tailored toward programmable thermostats, but are a good starting point for smart thermostats, notes Galeotafiore). Make your “away” and “sleep” set points 7 to 10 degrees lower or higher than your “home” set point, depending on the time of year. Go higher in warmer months and lower in colder months. In warmer months, the DOE recommends setting your air conditioning as high as is comfortable when you’re home and higher when you’re away. In colder months, the DOE recommends a “home” set point of 68° F. Be sure to update these settings at the start of each cooling and/or heating season.
3. Build the Schedule in the Thermostat
With your family’s schedule and your temperature set points in hand, you’re ready to program your thermostat. If you’re using a weekly schedule, you’ll only have to input time and temperature information for a 24-hour period once. For weekday/weekend schedules, you’ll do it twice (or three times for 5/1/1 models), and for daily schedules, you’ll do it seven times.
For programmable models, check the owner’s manual to see how you access the schedule-building feature. (If you no longer have the manual, search for it online using the manufacturer’s name and the model number.)
Start by selecting a day of the week and inputting the time when you want the first period of the day to start and the temperature, or set point, you want during that period. Then set the next period and so on until that day is finished. (Some models allow you to copy the schedule from one day to the next.) For example, a day may consist of “home” with a setting of 68° F at 6:30 a.m., “away” with a setting of 60° F at 9 a.m., another “home” with a setting of 68° F at 5 p.m., and “sleep” with a setting of 60° F at 10 p.m.
If you have a smart thermostat, its app’s schedule builder will walk you through similar steps for programming it on your smartphone.
4. Enable the Schedule
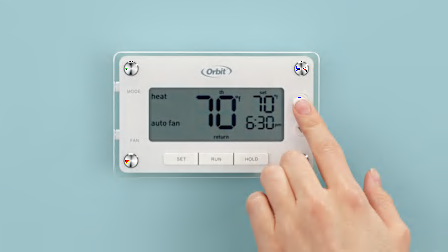
Now the easy part: activating the schedule. Whether you have a programmable or a smart thermostat, look for a button to turn on the schedule you’ve entered. If there’s no button to enable the schedule, see whether the thermostat’s display is showing “hold.” If so, press the hold button to deactivate the hold on the current settings so that your new schedule can take over.
With your thermostat properly programmed, you’re all set to start saving energy and money.
Top-Rated Programmable Thermostats
The top programmable thermostats in our ratings all offer seven-day programming, meaning you can set up to four temperature changes throughout the day for each day of the week. This means you get more flexibility than 5-1-1-day and 5-2-day programming, as those only allow for separate schedules for Saturday and Sunday (a 5-1-1 program) or a single schedule for the weekend (a 5-2 program).
Top-Rated Smart Thermostats
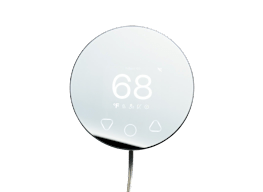
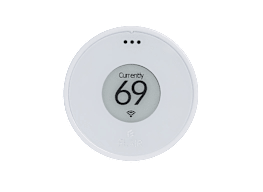
The top smart thermostats in our ratings all use algorithms to “learn” your family’s temperature preferences and daily routines, and adjust the temperature for you rather than relying on manual changes. Our lab tests show that some models provide better automation than others, and that the most expensive models aren’t necessarily the best. And in fact, you can find a great thermostat for $200 or less, including the models below.

